
Final Tutorial Part
Add a new animation
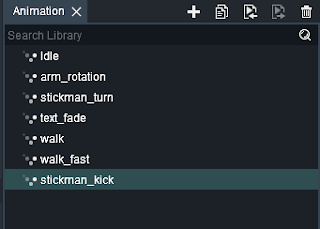 |
| new stickman_kick animation added |
Keyframe every bone
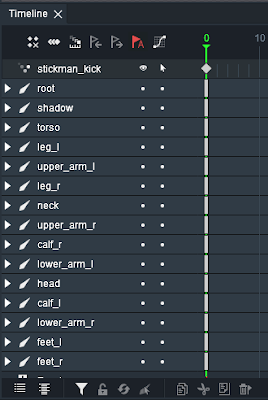 |
| every stickman bone are keyframed |
New Pose
Change initial pose of stickman to something like a fighter pose
You can guess what kind of animation we are going to add ;D
Here the fight pose as reference image.
Rulers
When you are done enable rulers. We are going to need them to position the legs right.
You can enable rulers from the preferences
You can add a ruler marker by dragging your mouse beginning at the ruler guide on the left of the screen. Add 2 rulers both going through where the tip of each feet is pointing.
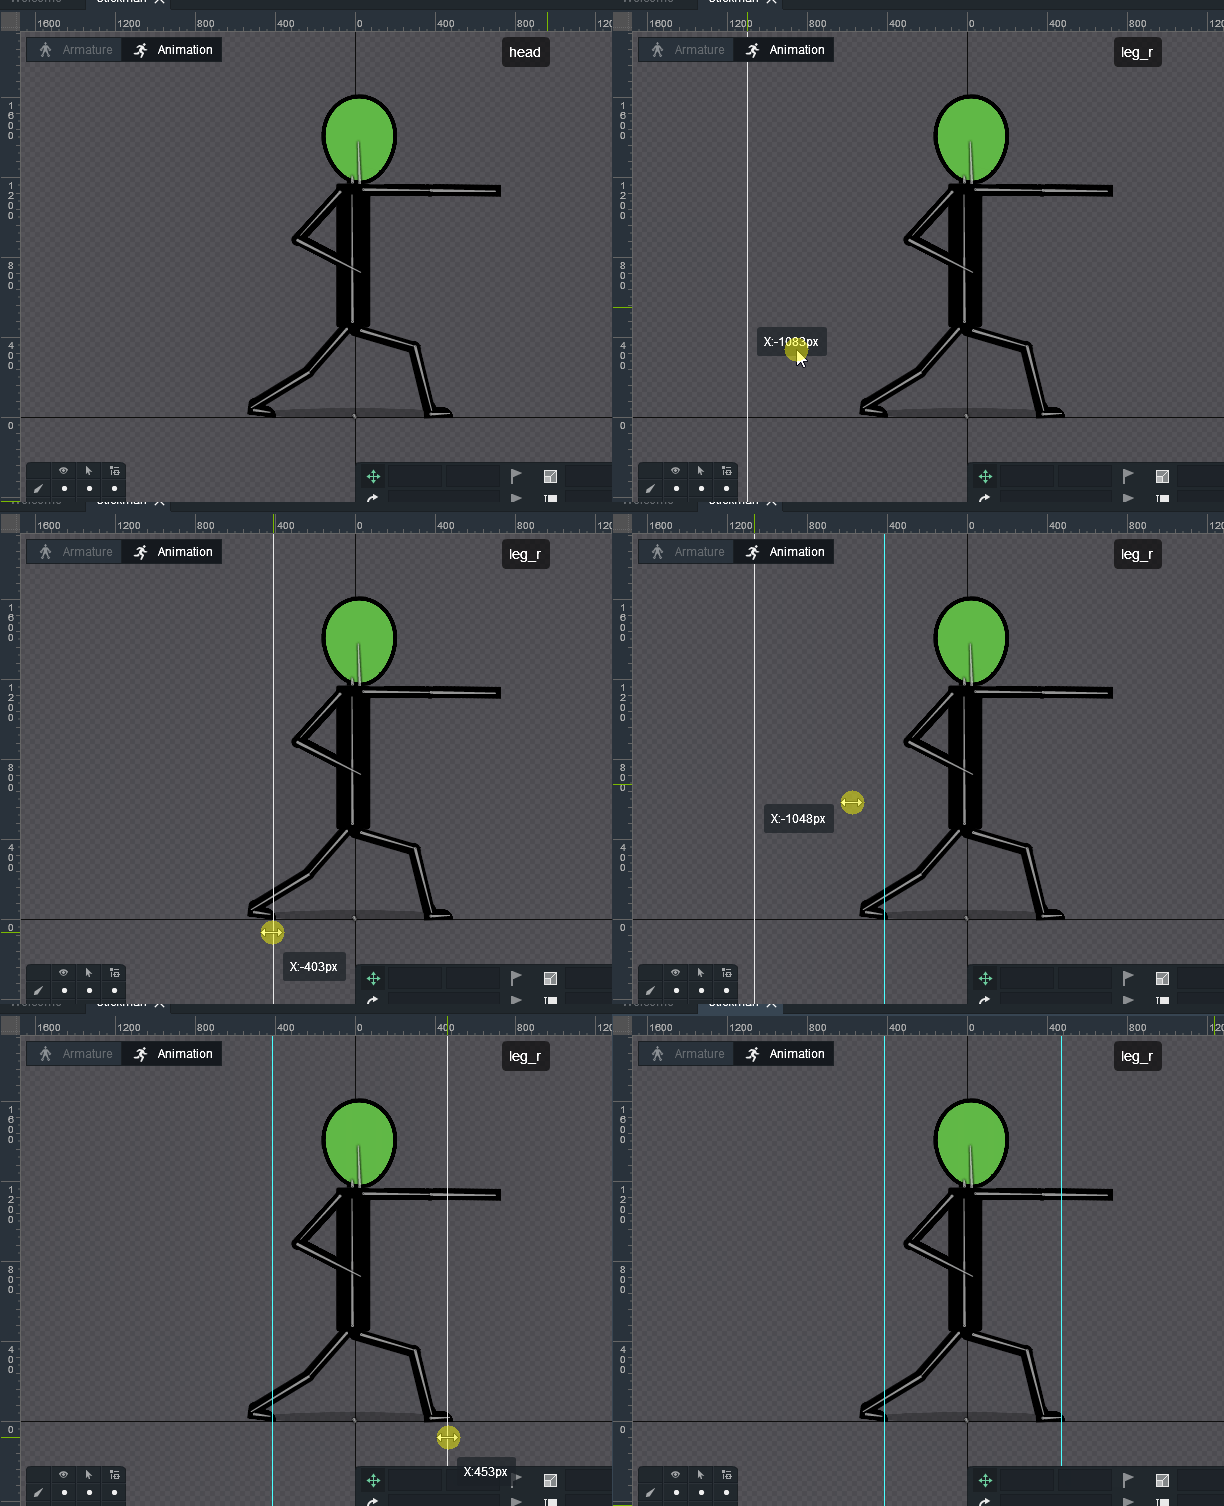 |
| how to add ruler |
What's Anticipation?
Now the thing we are trying to do here is a punch animation. Before the actual punch is made I'm trying to add whats called anticipation. In animation anticipation
is used to prepare the audience for an action, and to make the action appear more realistic. So before a punch is landed we would first need to reach back with our arms. That's what we going to do now.
Move 2 frames first. So your timeline marker should stand at frame 2.
Try to move the body back little bit keeping the feet at the position we have set our rulers. Move the upperarm_left back on the x-axis. Then move the lowerarm_left also back untill it matches the position of the upperarm_left. This is ok to do with stickfigures. It won't work with other characters.
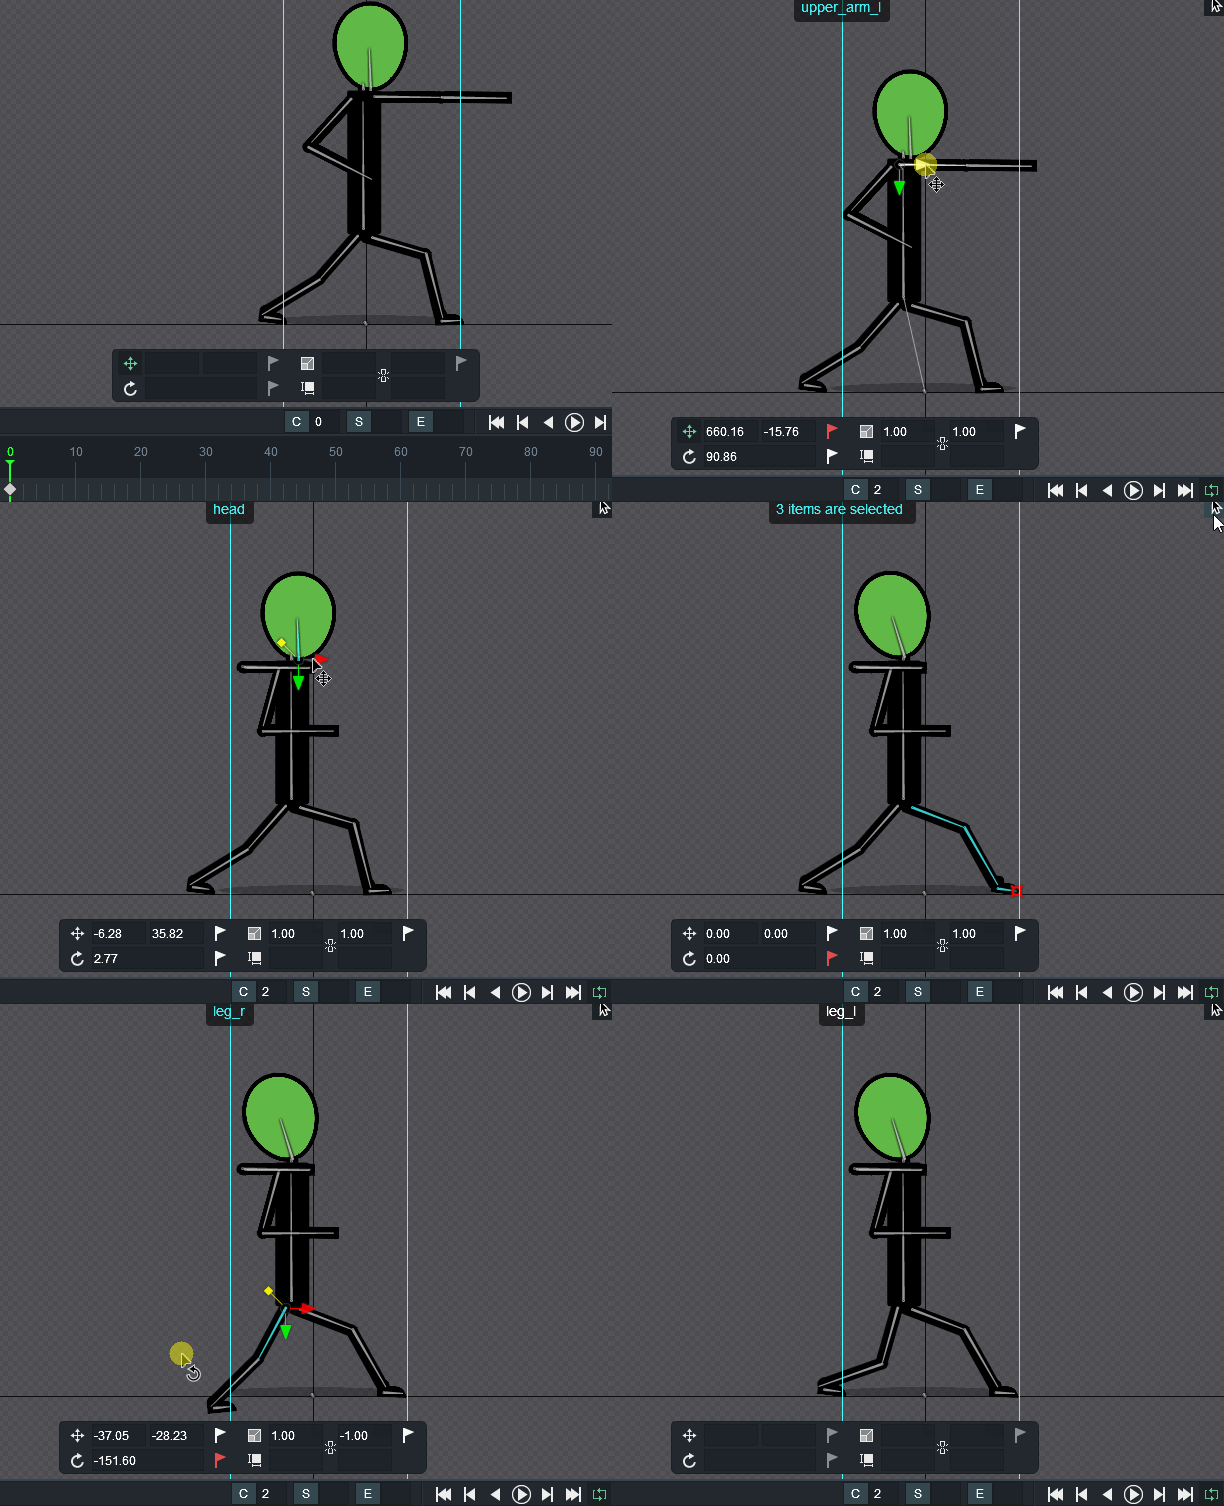 |
| Make a punch animation |
You may also rotate the head backwards little bit. Then you can turn the other arm up little bit. If you watched the gif I have used the pose tool once to reposition the whole leg but did not use it for the other leg.
Why?
The other leg has a negative scale of -1. Remember? We turned the bones for that leg by inverting the scale. While that is ok the pose tool however does not work with inverted scales. So I had to do it manually with the select tool. Feel free to experiment around with the pose tool and invert scaled bones :)
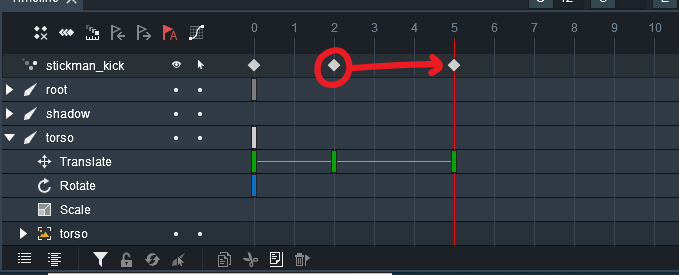
Ok fine. Now keep this position for the next 3 frames. Simply copy the keyframes at frame 2 to frame 5. Easy right?
 |
| Same keyframe |
Anticipation done. Now we come to the real deal.
EAT THIS !
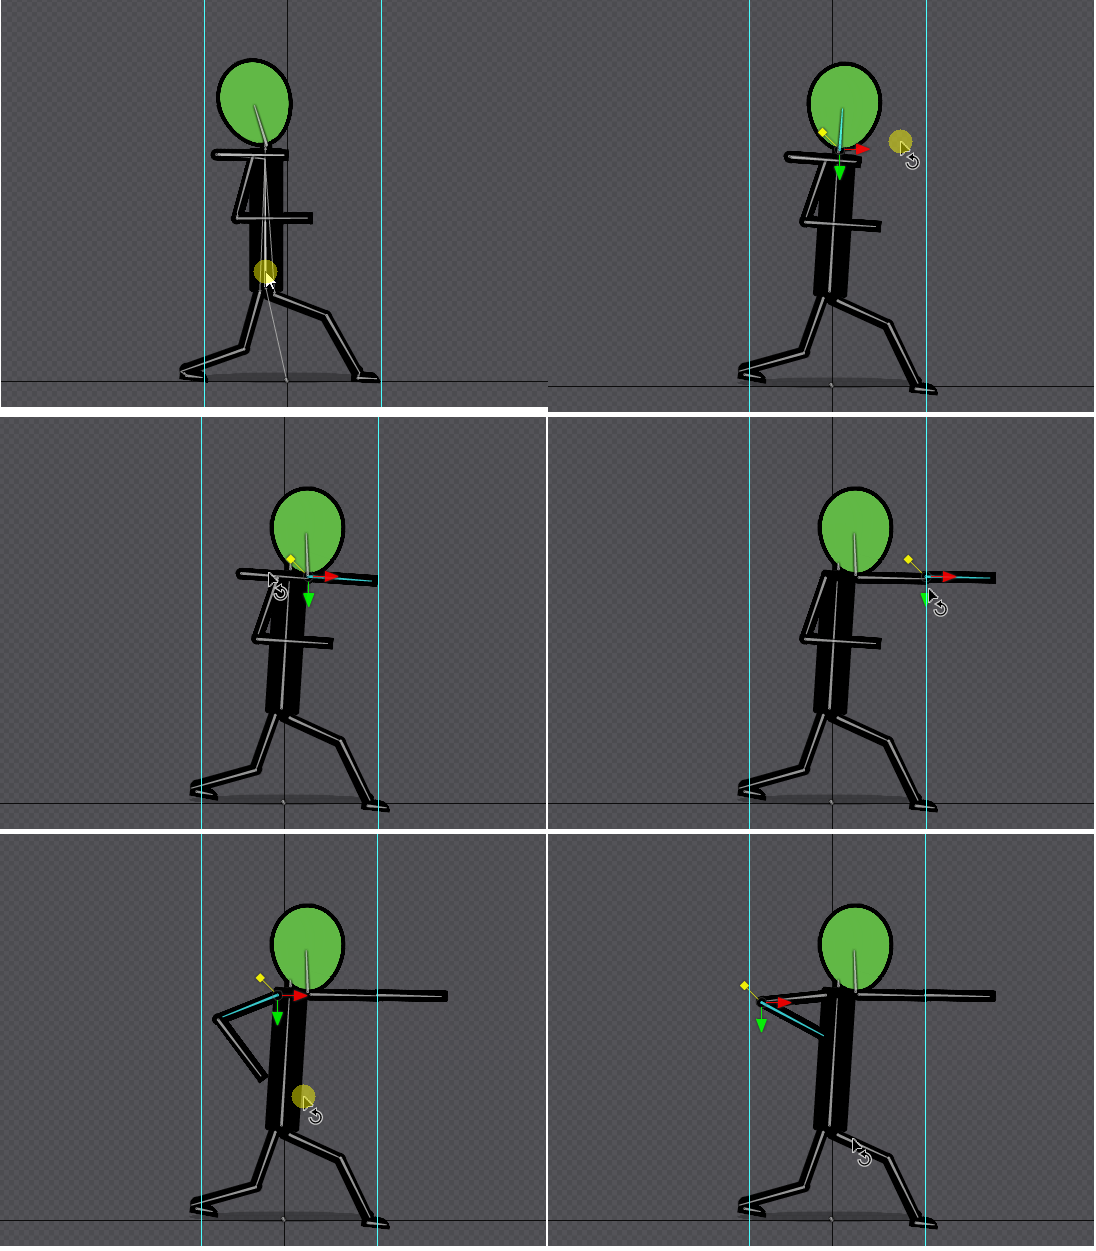
Move 3 frames further. So you are at frame 8.
- Move the body forward
- Unfold the left arm completely so they are fully seen again
- Transform and Rotate the head forward
- You may Rotate the body downwards as well (just subtle)
- Bend the right arm so that the lower arm is closer to the upper arm
- Rotate the right arm away from the body
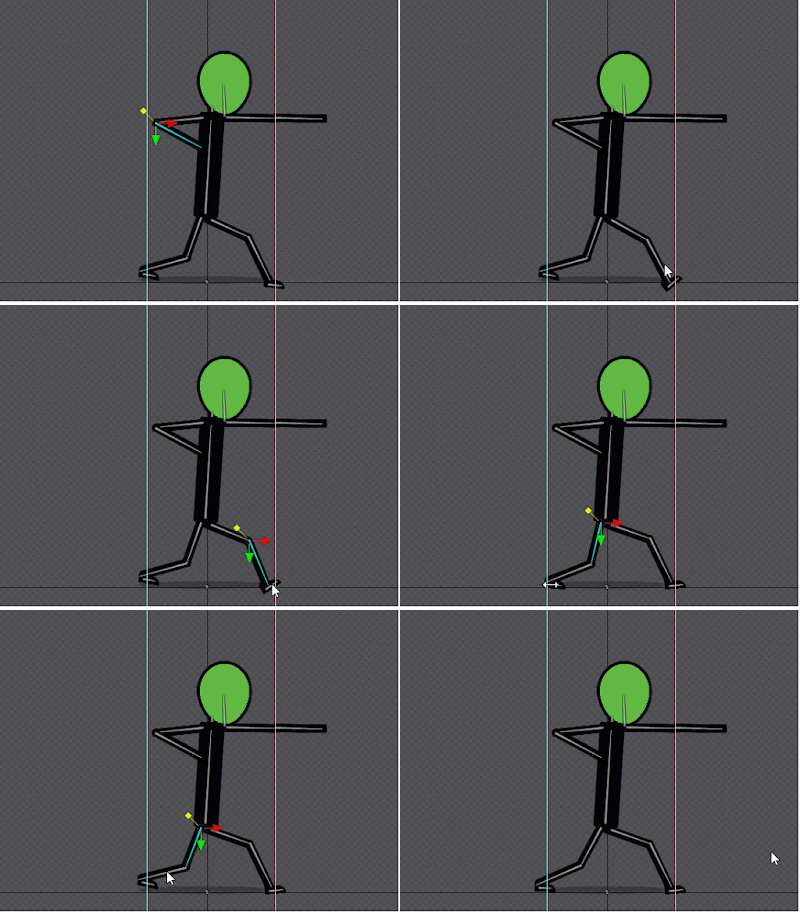
- Finally reposition the legs so that the feet matches the ruler guide we set up before
 |
| punch part 1 |
 |
| punh part 2 |
( I had to split the gif because it was too large to upload as a single file :/ )
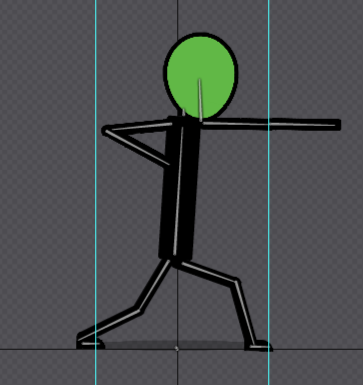
So try to make a similar punch pose like this one
 |
| punch pose |
Follow Through
What is typical for a punch is that even if your punch landed there is some motion afterwards.. some punch power that still is ongoing right?
Let's try to achieve that effect.
What is important for the follow through here is that it should continue the action from before (the punch) but not that aggressive.. more subtle.. more lightweighted.. more slow..
Think of it like a car that is driving full speed and when you release your feet from the accelerator the car will still continue to roll but it will gradually become slower and slower..
Try to get a pos similar to this one here
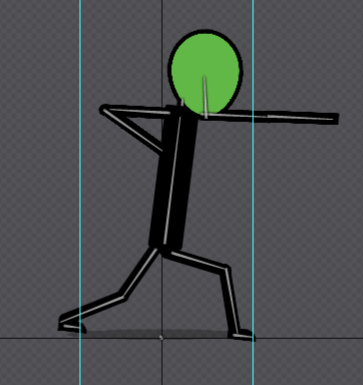 |
follow through
|
Play the animation. It's important to play the animation here to see the difference in the next ;D
Exaggeration
Ok fine. Let's add another detail to the punch animation. Go back to frame where we have the anticipation. So the part of the animation where the stickman pulls back his arm to land a punch.
Here do the following
- Select the punching arm bone
- Set a Y-Scale of 2.00
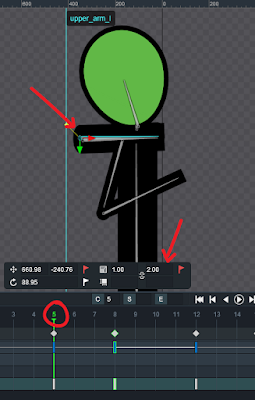 |
| 1. go to frame 5 2. select punch arm 3. scale y-value to 2 |
Then next go to frame 12 and reduce scale back to 1.
Once again play the animation. Do you notice the difference?
Tweak
I didn't like a few things. One is that the punch comes a way too late. So shift all keyframes at the 8th frame to the 6th frame. This will add a higher punch impact.
Delete or turn off rulers. Play the animation and enjoy ;D
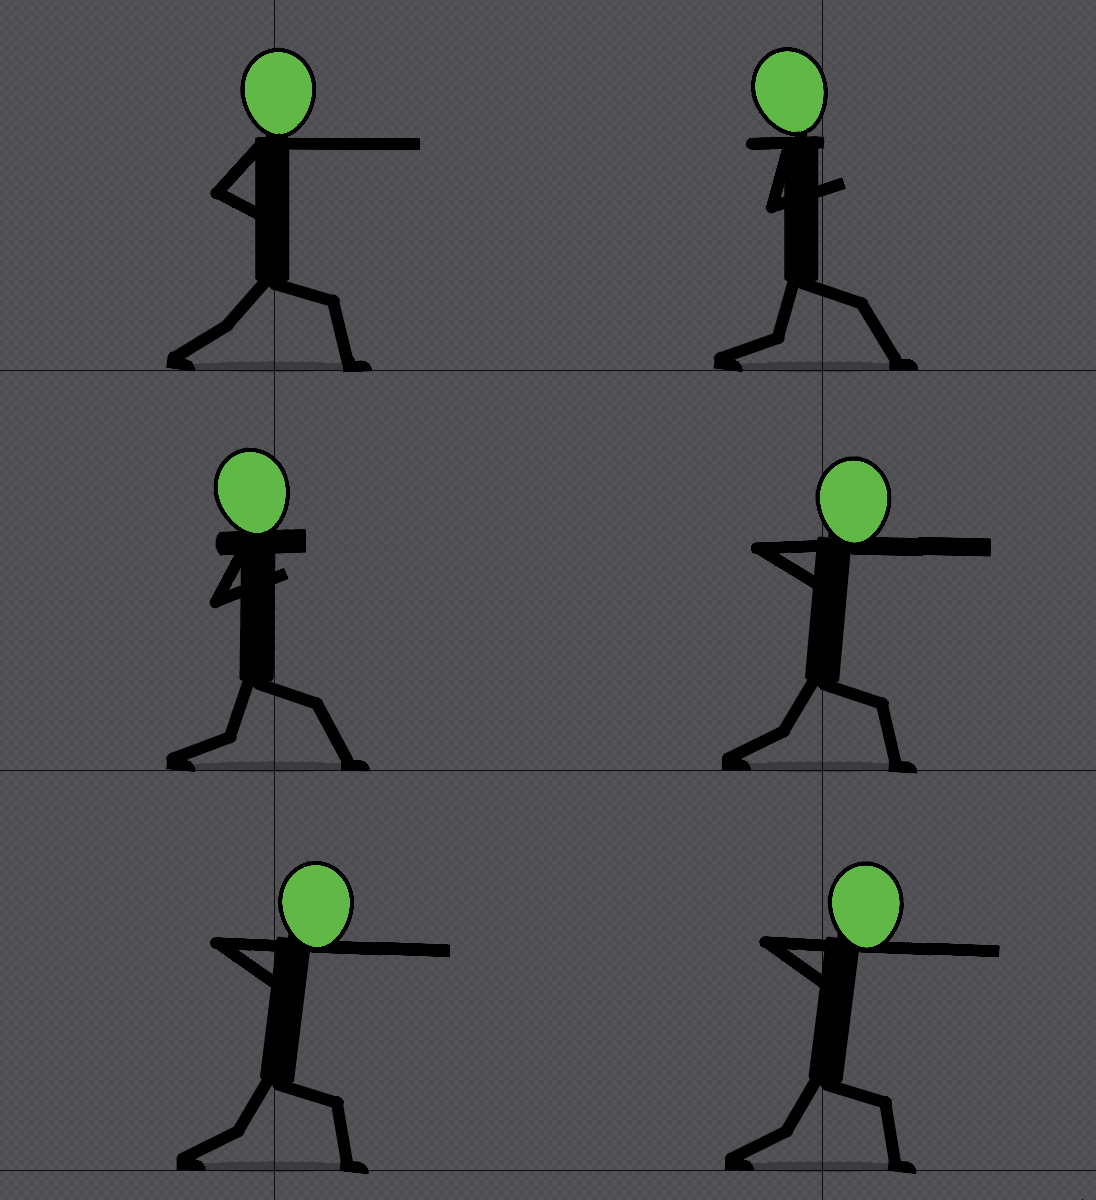 |
| final punch animation |
There is still so much room for improving the animation. But it's fine enough I would say.
Great! If you are tired take a break because I'm going to introduce a new feature now.
Karate Stickman - Skins in DragonBones
So far we made our stickman perform a punch action. But he looks more like a normal stickman than a fighter. We can instead use a karate stickman with the red headband. How would you do it?
There are 2 ways for this but I'll show you the fast and easy way.
Duplicate Symbol
Add the downloaded images into your projects library. In your DragonBones project switch back to Armature mode.
Then simply duplicate the symbol. If you don't know how to do that I wrote a post on it you can read here.
When you have duplicated it. Double click on the new duplicated symbol. Rename it Karate_Stickman
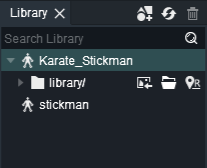 |
| Karate Stickman Symbol |
Replace Image
Then we are going to replace the green head with the band image.
BTW the band is green because of DragonBones.. just like the head of the stickman was green for the same reason.
Click on the head image. And replace it with the new downloaded head image. And if you don't know how to replace images I have another post for that as well
So you should have something like this
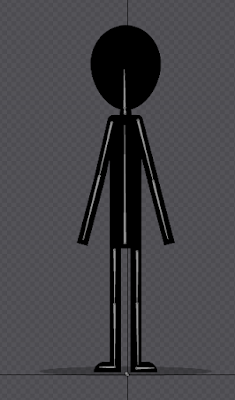 |
| replaced head image |
Add Band and Band Tail
The final thing left is to attach the band to the head. But make sure the band tails are behind the head while the band is on top of the head in the draw order.
Remember you can rearrange imag index in the draw order panel
Also don't forget to parent the head bone to both the band and bandtail images.
You should have this at the end
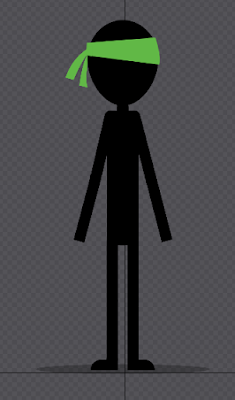 |
| Karateman |
Ofcourse it does look wrong like this because the stickman is not turned sideways. But remember in our animation he is turned sideways and thus the "wrong" band now will be on the correct place once you play the punch animation.
But another thing before that. We have finished our skinning.
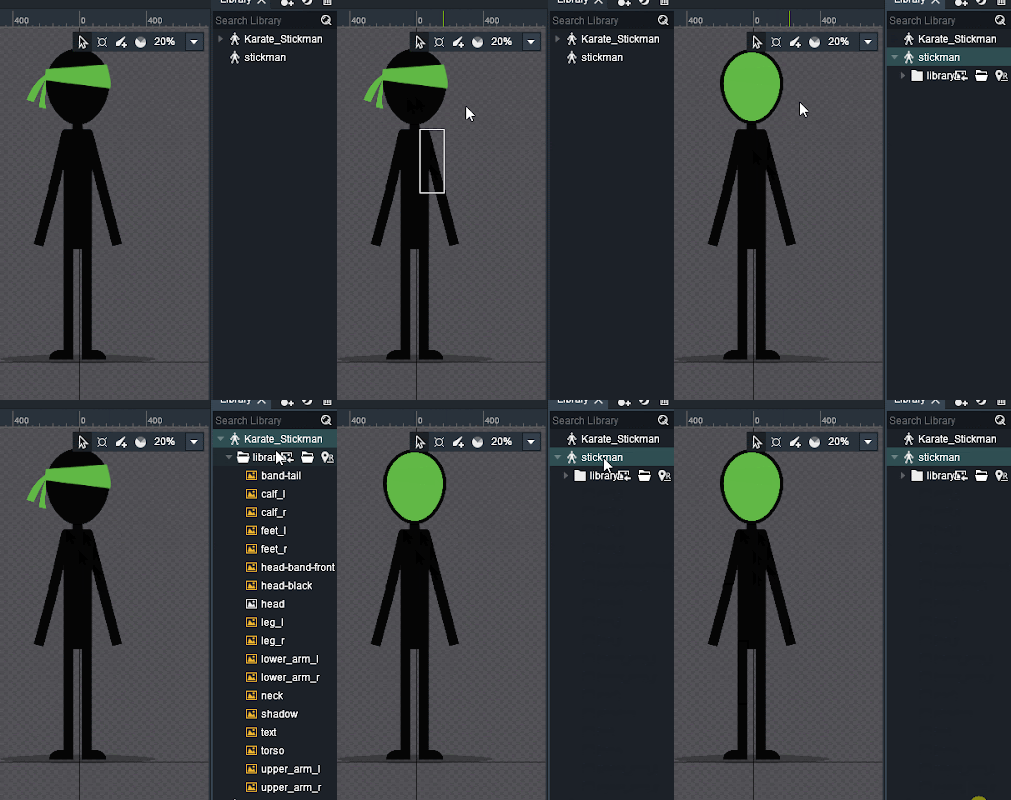 |
| stickman / karateman |
We can switch forth and back now between the two skins. You can add as much skins as you like with the same way.
Now let's play the animation with the new skin.
Showcase & Conclusion
Puhh.. This was some heavy long tutorial .. But I enjoyed it. Hope you enjoyed it too. I really tried to explain whenever needed but not go too long into explanation. I tried to capture all steps I did so it was easier to follow for you. I don't know how good this tutorial was in total but I hope it helps.
One last thing for the skinning as we did it. It's fast and easy but it's really the least effective.
Why so?
Because we duplicated the symbol. That means if you gonna add a new animation in one symbol you won't have that new animation added in the duplicated symbol. So you would probably delete the duplicate and then reduplicate everytime you apply changes etc which is ofcourse insane. So there is actually a different way to skin with slots etc but for now this is enough.
If you had problems following somewhere or just want to check you can download here the full stickman DragonBones project I did for this tutorial
The End
This was the last tutorial with the stickman :(
Until now we were only experimenting and exploring DragonBones. I think if you followed the tutorial till here you have learned enough basics to animate on your own.
In any case here is a list of other useful materials that will surely grant you deeper knowledge on DragonBones.
Or have a look at the sitemap of all tutorials, tips & tricks and other useful information here
You will learn about the other features DragonBones has to offer which we didn't touch in this main tutorial series.
What you MUST learn for great animations however is not DragonBones. Listen, DragonBones is your tool to animation. But the quality of the final animation depends on the individual who is using the tool. If you are a shitty lame animator DragonBones will output shitty animations. If you are the best on this field DragonBones will output the best results.
You won't become a good animator let alone the best with just a few animated characters and only 20 hours spend into animation.
The minimum I can recommend is that you learn the
12 principles of animation. If you master them you will see a vast change in your animation style and your animations will become much more interesting at the end.
What's Next?
So I'll need some time to draw a new character for the next Tutorial series and prepare it. We will start once again from scratch but go more advanced and do more professional animations. We will use the things you have learned until now but in addition we will also use the mesh tool and IK constraints + import it into Unity. Hope that was enough to catch your attention :)
Thanks for reading.. Subscribe, Like, Share and Comment.
See ya !
Don't forget to follow me on my
Facebook Page for interesting game specific 2D Arts & Animations.
Hamza Cavus
Wednesday, 5 December 2018