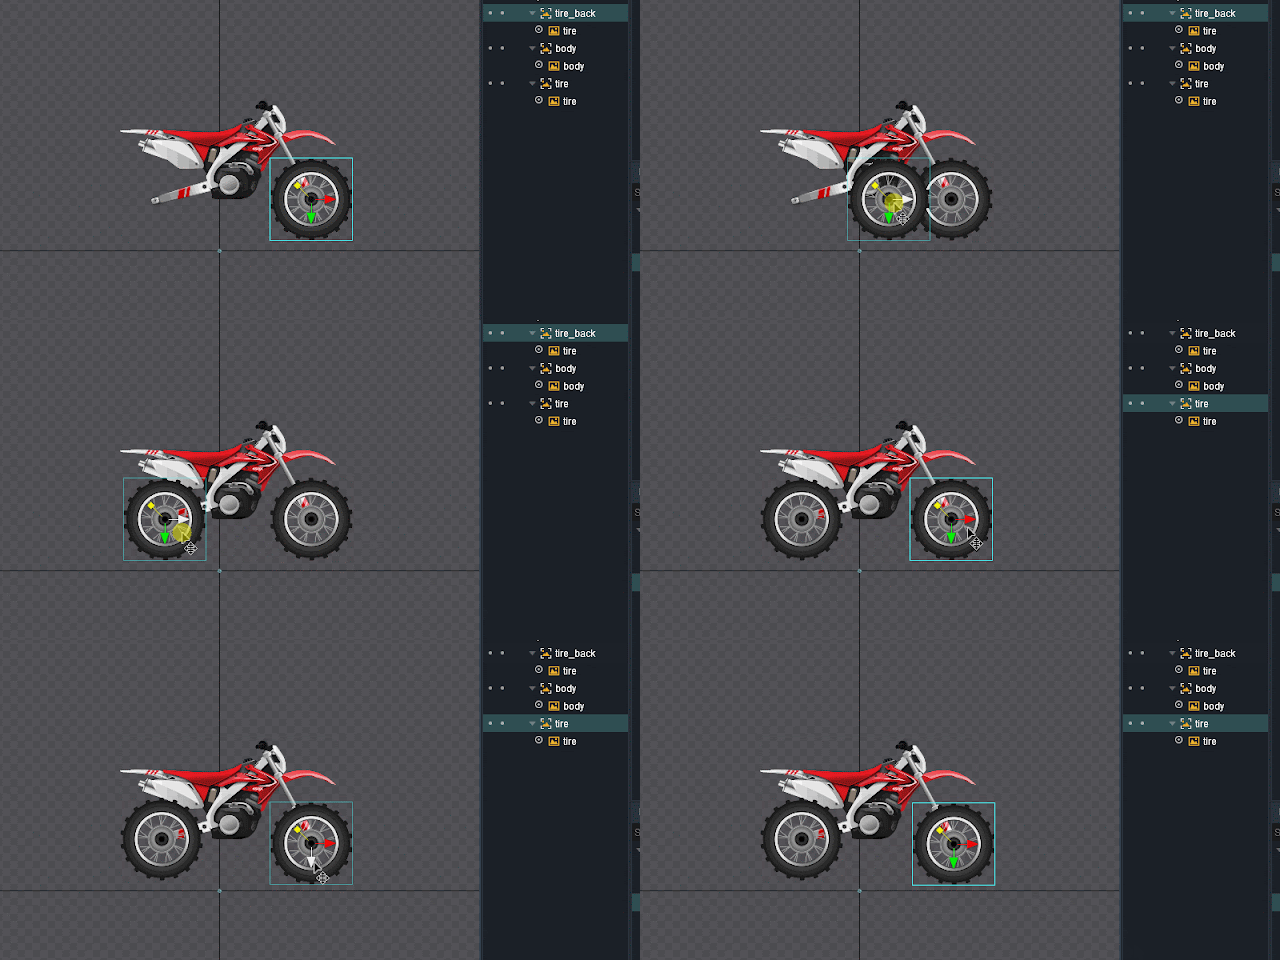
I assume you know the very basics for this tutorial
I've prepared a Motorbike for this tutorial which you can download
here.
New Project
Open DragonBones
Make a New Empty Project
Save Project to a directory of your choice
Drag your own or the downloaded vehicle images into DragonBones so that it is already on the scene
If you use your own vehicle make sure the vehicle is layered correctly. The wheels need to be separate from the carcass of the vehicle.
1. Assemble Your Vehicle Parts
Duplicate Wheel
I've only one wheel image. So simply duplicate that one. And rename it to wheel_back. Rename the other wheel to wheel_front
Put 2nd Wheel On Proper Position

Fix Draw Order
Bone The Vehicle
Now this is importnat. My purpose is soley to animate the wheels. And for this I really just need 3 bones
- Carcass / Body of motorbike
- wheel_front
- wheel_back
Depending on what you are up for the amount of bones may vary.
If you have noticed I precisely chose the center as the starting point for the wheels. This is because the pivot point of the wheels. If you put it on a different place than the center then the wheels will not rotate correctly.
Alright we are ready to animate.
2. Rotating Wheels
The Back Wheel first
- First switch to animation mode
- Select everything with a selection box
- Go to frame 0 in the timeline panel and hit K to keyframe everything possible
Next..
- Pick the bone for wheel_back.
- Make sure it's initial rotation value is at 0
- In the timeline go to the 10th frame
- And input a rotation value of 180
Then having still the wheel_back selected..
- Go to 20th frame
- Input value back to 0
Hold a second ! Why we didn't just turn the wheel by 360 degrees?
Well the problem with that is 360 degrees literally means 0 again. So the wheel won't turn at all. Now there are softwares like Adobe After Effects that actually do allow this. But After Effects has a multiplication factor before the rotation degree.
So the rotation in After Effects looks like this [SomeNumber]x [SomeDegree]
For example
- 1x 100 (1x 360 + 100)
- 3x 22, ( 3x 360 + 22)
- 200x 5 (200x 360 + 5)
We don't have this in DragonBones. Therefore we have to say it differently.
What we do is "Turn 180 degree, Turn another 180 degree" which makes 360 turn.
Repeat For The wheel_front
Do everything you did for the back wheel now for the front wheel.
Awesome. The thing is usually the back wheel is connected to the engine of the vehicle. This means the back wheel rotates faster than the front wheel.
Back Wheel Faster Rotation
Let's make it easy and say : The back wheel completes 2 cycle in the same the front wheel completes 1
So all we gotta do is to stretch the backwheel rotation in timeline down by 50%.
What I did was to to shift the keyframes of the 180 degree to frame 5 and then the 0 degree to frame 10
Then I simply copy pasted the 180 degree turn for frame 15 and the 0 degree turn to frame 20.
This way we got 2 cycle turns while the front wheel completes 1 cycle in this time.
Hope that makes sense :D
3. Final Touch
Now to add a bit more feeling of that the motor bike is driving we can animate the carcass or the body of the motor bike to.
- Select body bone
- go to frame 10
- move slightly up
- Tired got displaced : select both tires (still same frame)
- move them slightly down to match surface again
Important ! You need to keyframe all the bones at frame 0 and once again at the last frame so there is a tween. (That's what I did when the green noise appears. Sorry for that)
Here is the final result :)
One last thing:
The devs added a feauture where you were able to auto tween from one state to another. That means
you actually could make a 360 turn with this auto tween thing. But that feature seems to be removed
in DragonBones 5.6 (maybe was not fully finished?)
Download the full project here