
Earlier in this Character Animation Tutorial series I mentioned that I added the image with the text "hello world" for some purpose.
In this tutorial you will see why.
Fade Images
We will fade the text image in and then fade it out so that it's looped. If the image with the text is still disabled reenable it now (because we disabled it in the previous tutorials).
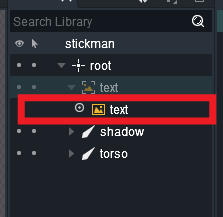 |
| If the text is disabled reenable it |
Then click on the Image slot. On the property panel you will see new attributes available. For us now the important field is the Alpha. This basically controls the opacit or transparency of an image.
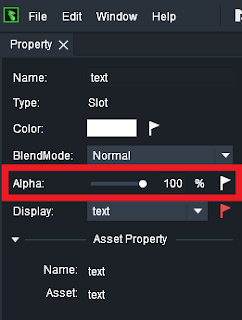 |
| Alpha channel |
Click on the white flag next to the alpha. You will see that the flag turns red. Red flags means that a keyframe is set for his property in the timeline. Thus we are able to animate the alpha of the image now. Setting a keyframe for the alpha automatically sets a keyframe for the color too. They are both connected and that's fine.
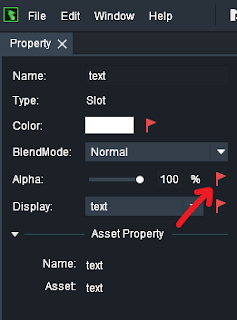 |
| Red flag |
Reduce Alpha
Drag the slider for the alpha channel to 0. You will notice as you drag the opacity of the image is updated accordingly.
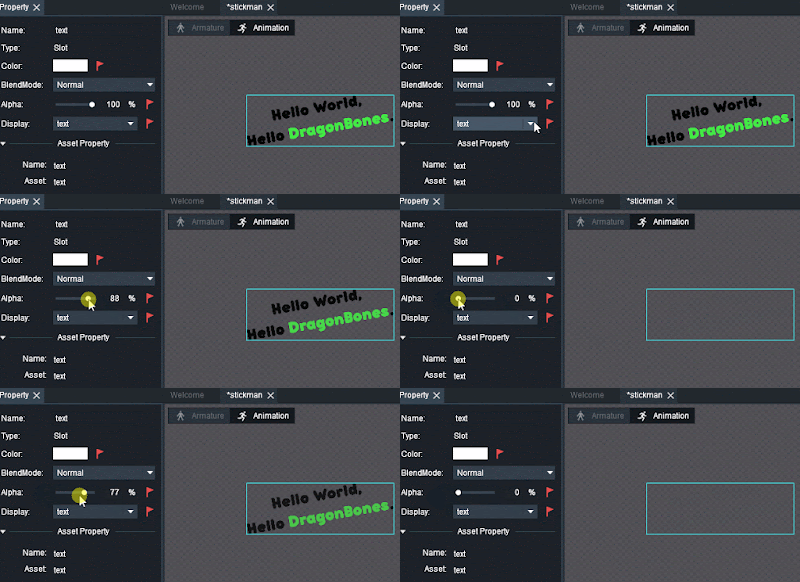 |
| Reduce alpha to 0 |
Set timeline marker to frame 10
And drag the slideer all the way back to 100.
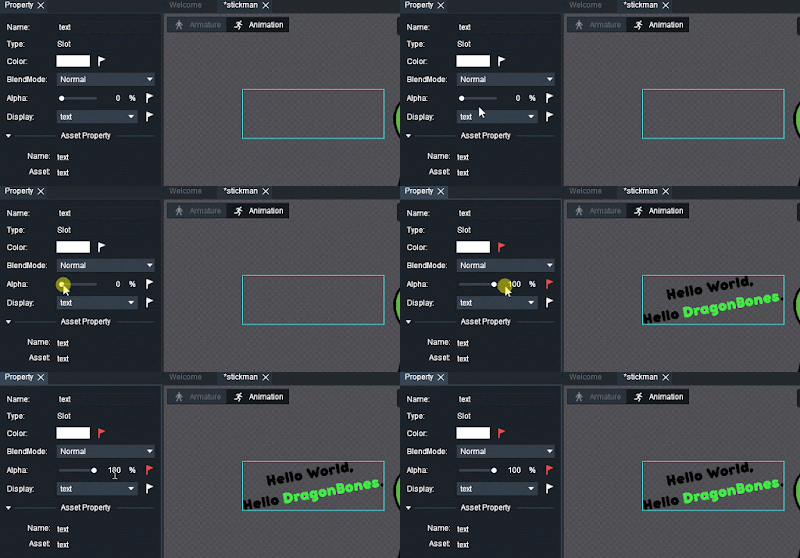 |
| fade in |
Next copy paste keyframes of the image color. As I mentioned the alpha is connected to the color.
There is no extra field for the alpha on the timeline.
|
| copy paste color keyframe |
We are doing this so the image is shown for a certain amount of time before it is fading out again.
Next set timeline marker to 40 and drag the alpha slider back to 0. Alternatively just copy paste first keyframe of the color to frame 40.
Fade Loop. Great!
This is it. We now have a fading image with the text like this
Hamza Cavus
Wednesday, 5 December 2018